
If you’ve been interested in reducing household waste and growing a healthier garden, composting at home is a fantastic place to start. Composting transforms kitchen scraps and yard waste into nutrient-rich soil that can improve your plants and reduce landfill contributions. This guide provides beginner-friendly tips to make composting easy and successful.
What is Composting?
Composting is the natural process of recycling organic materials like food scraps and yard waste into a dark, crumbly soil amendment called compost. This process is powered by microorganisms that break down the organic matter. By composting, you turn your waste into something beneficial for your garden.
Why Compost at Home?
– Reduces landfill waste: Food scraps and yard waste make up a significant portion of household trash. Composting keeps this material out of landfills.
– Enhances soil health: Compost enriches soil by adding essential nutrients and improving soil structure.
– Saves money: You can reduce or eliminate the need for chemical fertilizers by using homemade compost.
– Supports sustainability: Composting is a natural recycling process that benefits the environment.
Getting Started: Tools and Setup
You don’t need expensive equipment to start composting. Here’s what you will need:
– Compost bin or pile: Choose a container or spot in your yard. Bins are great for keeping things tidy; piles work well if you have space.
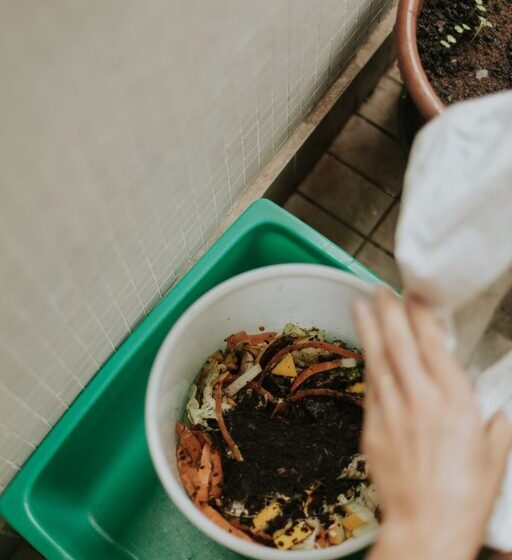
– Kitchen container: A small bin or bucket to collect food scraps before transferring them to your compost.
– Basic tools: A garden fork or shovel helps turn the compost to speed decomposition.
What to Compost: The Right Ingredients
Successful composting requires a balance of “greens” and “browns.”
– Greens: These are nitrogen-rich materials like fruit and vegetable scraps, coffee grounds, fresh grass clippings, and garden trimmings.
– Browns: Carbon-rich materials such as dry leaves, straw, shredded paper, cardboard, and small branches.
Avoid Adding:
– Meat, dairy, oils, and greasy foods (these can attract pests and create odors)
– Diseased plants
– Pet waste
– Inorganic materials like plastic and glass
Step-by-Step Composting Guide
1. Choose Your Spot
Pick a dry, shaded area with good drainage. If you’re using a bin, place it on soil or grass to allow beneficial organisms to enter.
2. Layer Your Materials
Start with a layer of coarse browns like straw or small twigs to help airflow. Then alternate layers of greens and browns. Aim for roughly 2 to 3 parts browns to 1 part greens to maintain balance.
3. Keep It Moist
Compost should be about as damp as a wrung-out sponge. Water if it’s dry but avoid soaking it.
4. Turn the Pile
Aeration speeds up the composting process. Use a garden fork to mix or turn your compost every one to two weeks.
5. Be Patient
Depending on conditions, compost can take anywhere from two months to a year to mature. Finished compost is dark, crumbly, and earthy-smelling.
Troubleshooting Common Issues
– Bad odors: Usually caused by too many greens or not enough air. Add more browns and turn the pile.
– Pile too dry: Add water and green scraps.
– Pile too wet or soggy: Add dry browns and turn to increase airflow.
– Slow decomposition: Chop materials into smaller pieces and turn the pile more often.
Tips for Indoor Composting
If you don’t have outdoor space, consider:
– Worm composting (vermicomposting): Using worms to break down food scraps inside a bin.
– Bokashi composting: A fermentation method suitable for small spaces.
– Compost tumblers: Containers that you can rotate easily for faster decomposition.
Using Your Finished Compost
Once ready, use compost to:
– Enrich garden beds and flower pots
– Mulch around trees and shrubs
– Improve lawn soil
– Start seedlings with a nutrient boost
Final Thoughts
Composting at home is a rewarding way to reduce waste and support a healthy garden. Start small, be patient, and adjust your process as you learn. Soon, you’ll enjoy rich soil and the satisfaction of helping the environment one peel and leaf at a time!